
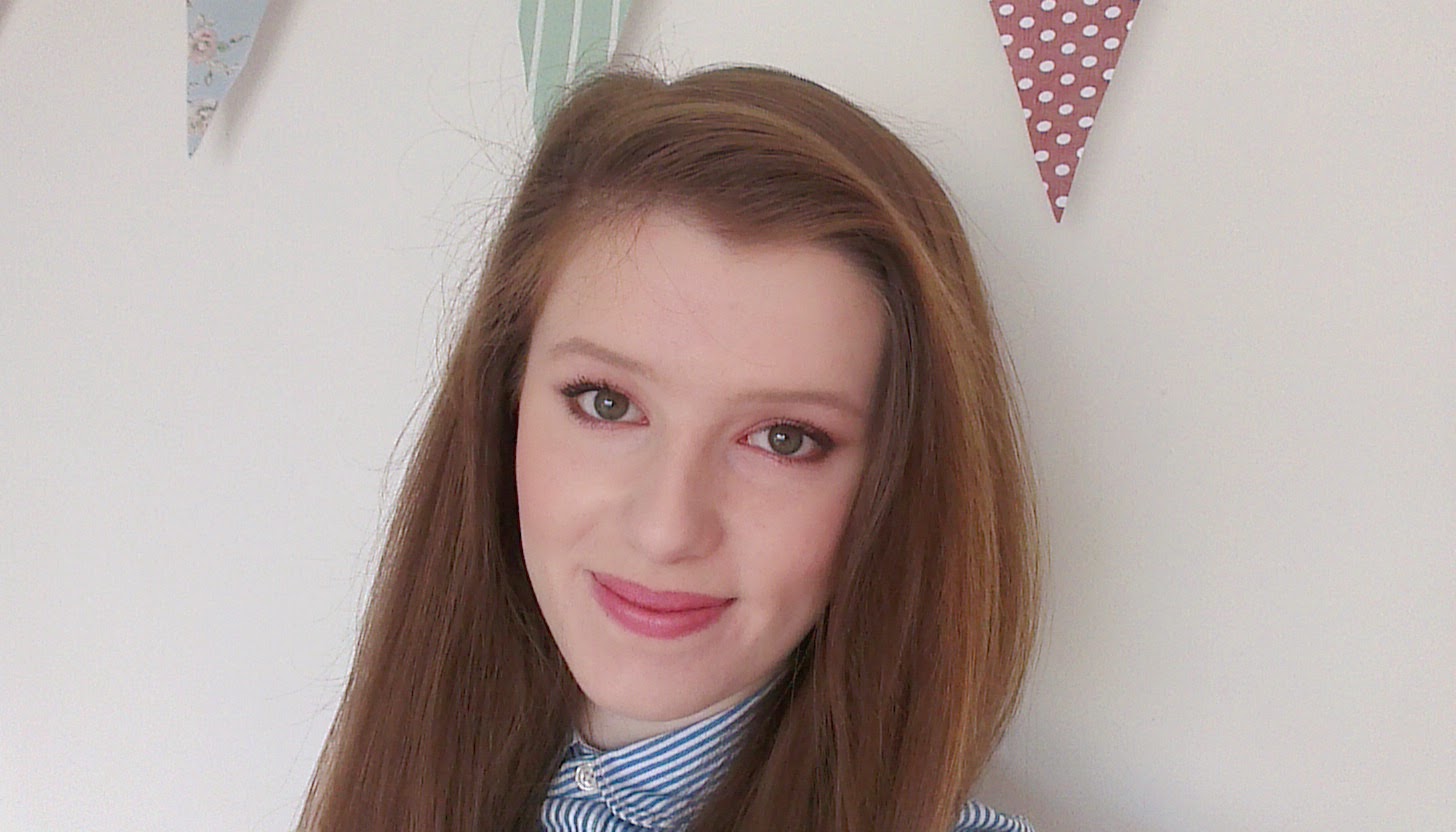


Tutorials have to be one of my all time favourite blog posts to read and videos to watch and I must say I thoroughly enjoyed creating this one myself! Keep reading for my step-by-step instructions on how to get this spring look. I will also link the products I mention!
Now after your wholesome skin care routine you want to prep your face by applying a primer of your choice. This will help to smooth the appearance of pores and also help your make up last a little longer. For this I used The Body Shop InstaBlur All-In-One Primer however feel free to use whatever primer you fancy.
Whilst we let our primer brew for a bit we can move onto the eyes. I do this now as it means I can wipe away any fallout without needing to ruin my foundation. As I am so pale I would rather like my eyelids to match the colour of my face than leave me with two white circles around my eyes so I applied the tiniest bit of my L'oreal True Match Foundation to my lids. I began by applying my Maybelline Colour Tattoo in Pink Gold to the lid, no higher than the crease, with my finger. This creates a nice base and helps to further intensify the pink shadow. Next I applied Fix, the second colour in the Urban Decay On The Run Palette, to my crease as a transition shade using my trusty Zoeva 227. Once this has been blended to all its blending possibilities you can apply Dive over the Pink Gold using any flat shader brush. Use patting motions to get the best colour pay off. Now here I dipped into my Flutter Amelie Eye Palette, using the darkest shimmery brown in the bottom left corner however you can use any cool toned, dark brown. Using my 227 brush I very lightly applied a small amount of this shadow in a v-shape to my outer corner. You can build this up to the intensity you wish but make sure to apply little, by, little to avoid a black eye!
Now the eye look is complete curl your eye lashes and apply some mascara to the top lashes. For this I used my Kiko Eyelash Curlers and my Urban Decay Perversion Mascara.
For my base I applied my Max Factor Facefinity All Day Flawless 3 in 1 Foundation, in circular buffing motions, using my Real Techniques Expert Face Brush. For this part though you can use which ever foundation you prefer however I would suggest using a medium to high coverage one as when you are applying pink to the eyes redness on the face isn't the most complimenting. Then I applied concealer to my many spots, using the Seventeen Phwoarr Paint.
Now our skin tone has been evened out by our base we can begin to inject some colour, in my case to make me look a little more alive
For blush I used Benefit Sugar Bomb on my Zoeva 127 and applied it in a slightly upward, diagonal motion to the high point of my cheeks. I chose this colour because it is a subtle, peachy tone, that won't clash with the pink in the eye look. I then applied the highlight shade from my Sleek Make Up Face Form Kit in Fair to the tops of my cheekbones, down the bride of my nose, on my cupids bow and just under my eye brow. For this I used my Real Techniques Setting Brush, which I forgot to include in the images (typical XD).
Going back to the eyes briefly I applied Dive to the lower lash line, using my Zoeva Pencil Brush and then applied the cool toned, dark brown shade to the outer corner of my lower lash line using the same brush. Now I applied mascara to my bottom lashes as I just find this easier than doing it before hand. To add a little sparkle I just applied a cream coloured, shimmer pigment to the inner corner of my eyes.
Now simply apply your lip colour, I used the Maybelline Color Drama Lipstick in minimalist, and voilà your done!
Hope you enjoyed this tutorial and found it easy to follow. If you've got any questions feel free to comment below. See you soon,
Ellie x
Comments
Post a Comment